It has been three weeks since the last post about the 2015 Spring Locksmith Build and I’m sorry for the delay. There has been a lot of working and sleeping, as it tend to go with buildouts. There is finally a chance to update you all on the Locksmith Build. It’s been a fun one. Check it out!
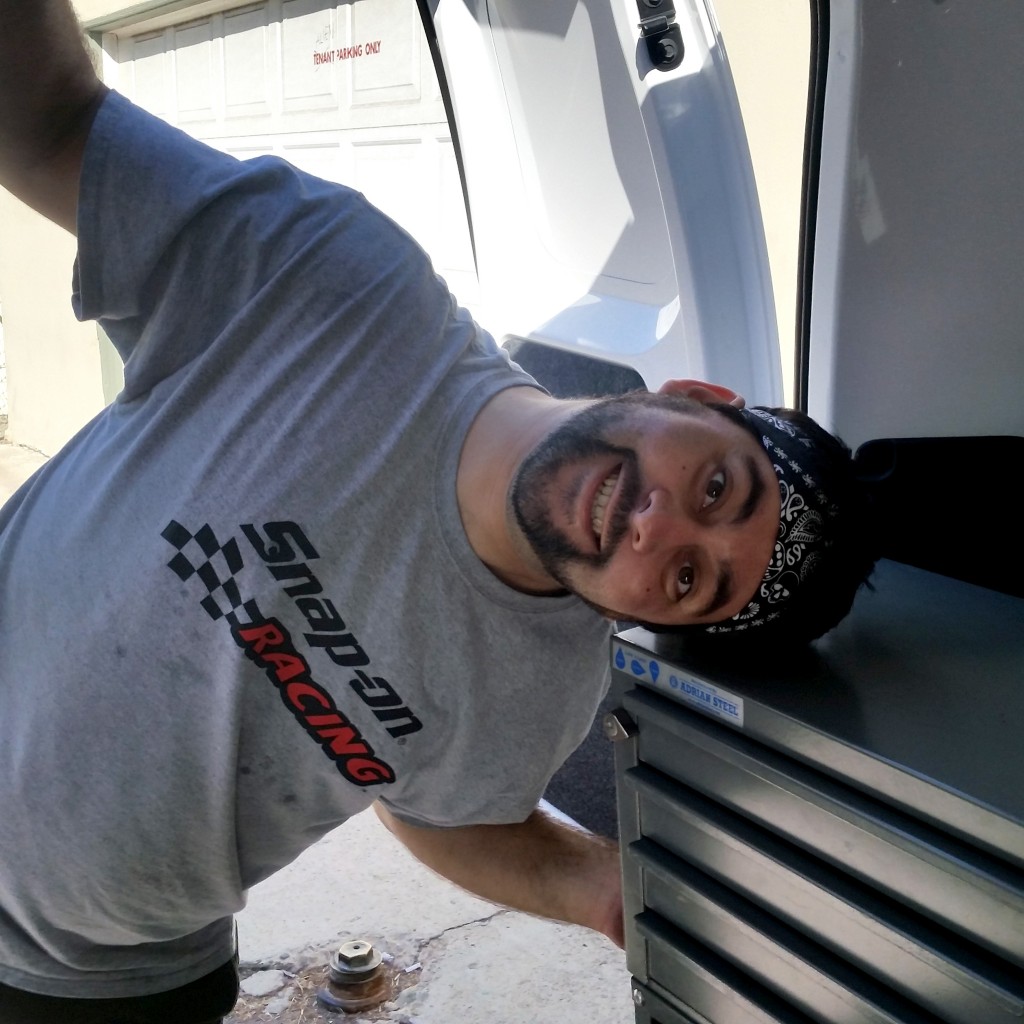 So the last time I posted, we had installed the toolboxes and shelving, and now it was time to build the tabletops. This tabletop had to fit the high security machine, the HPC key cutter, and a pinning kit. Tetris anyone?
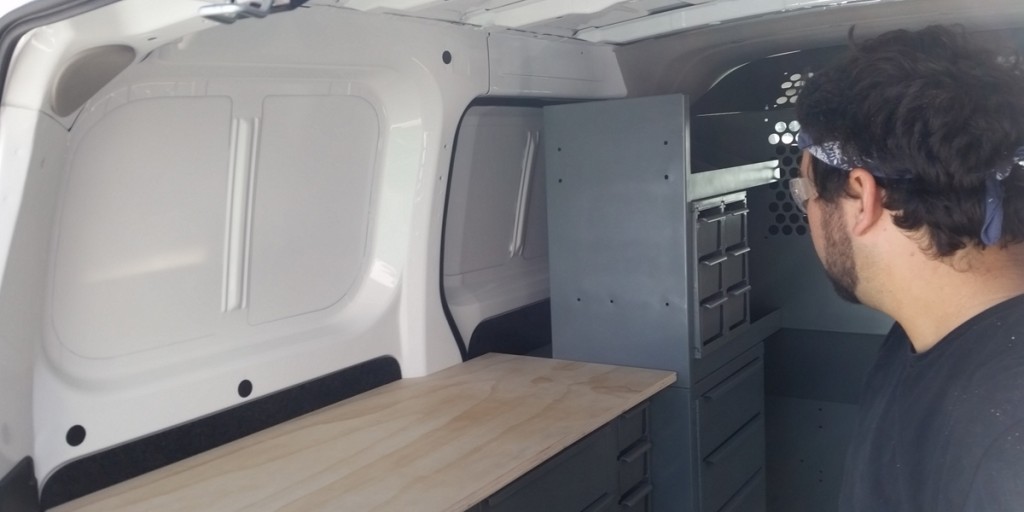 Just like the shelving and toolboxes, we needed to cut the toolboxes in as close to wall as possible for maximun space. Here is Weston looking at his handiwork. We cut them in real nice. and we were happy about the space.
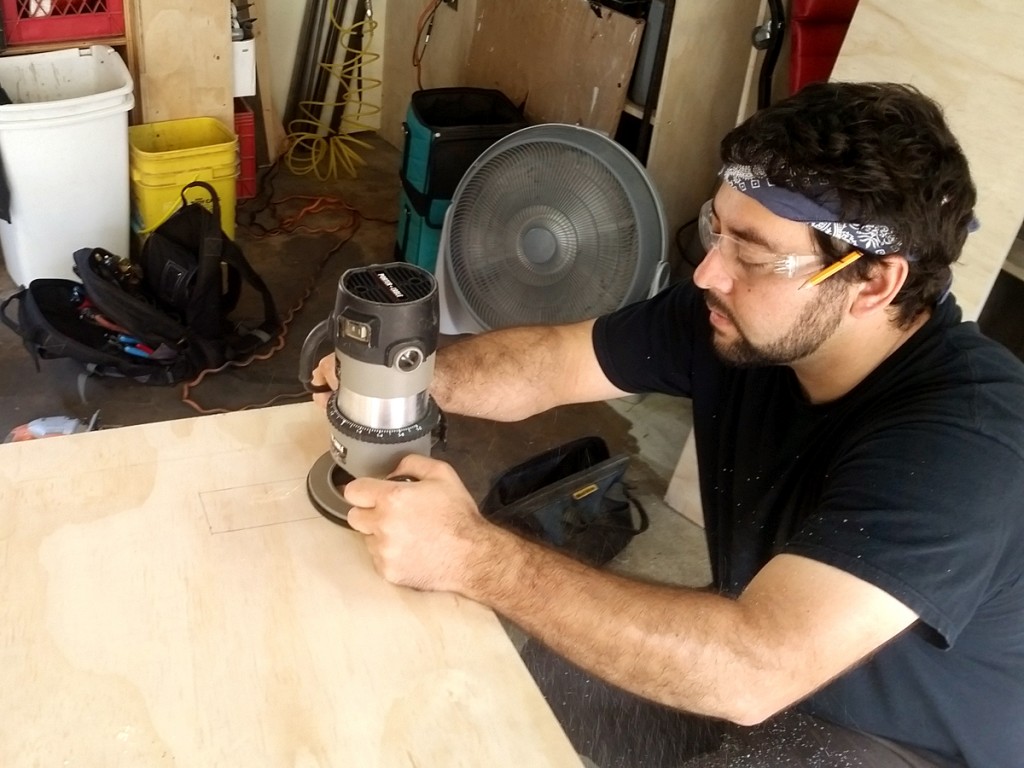 One of the toolbox mounts was on top of the toolbox, where the tabletop would be. Here is Wes routering out the bottom of the tabletop so it would lay flat on the top of the toolbox.
 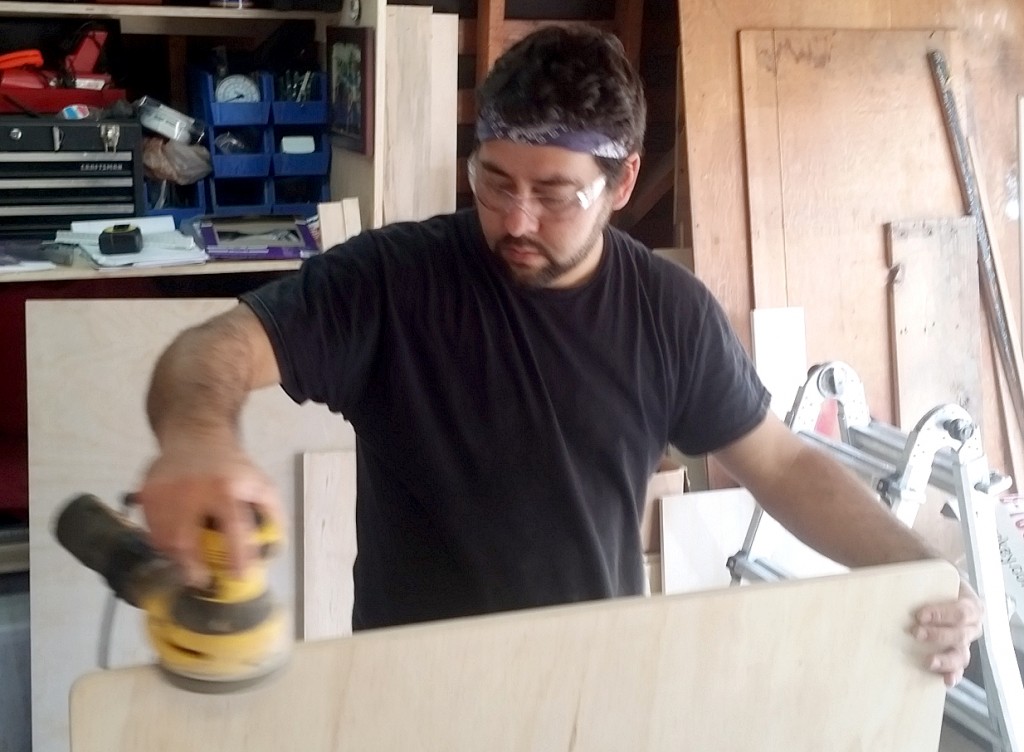 Next came the sanding. I know it looks like I’m doing no work, but Wes isn’t taking any pictures of me. I am sanding as well, but you wouldn’t know it.
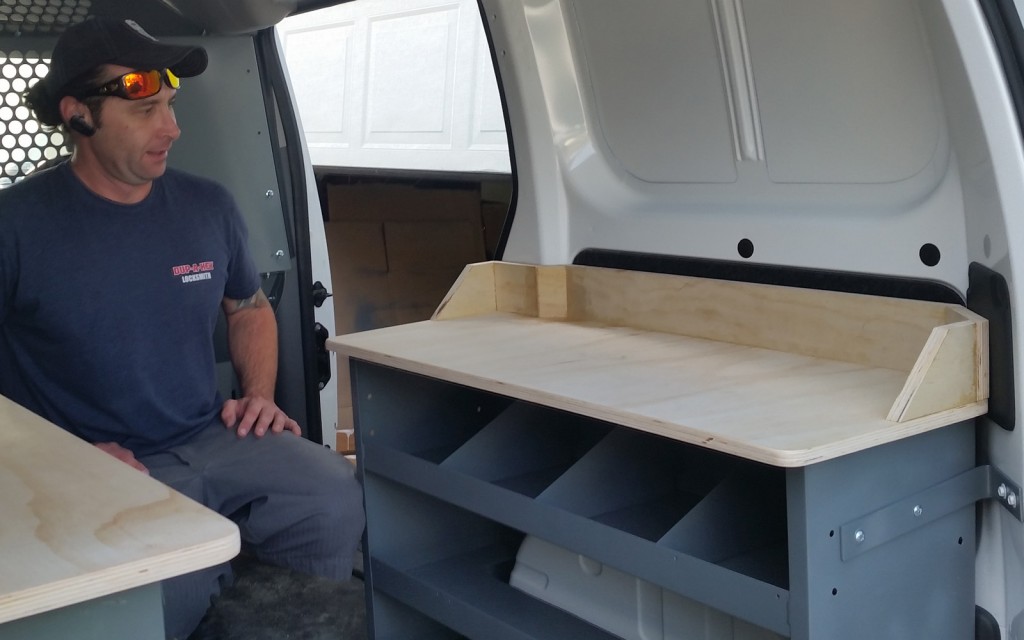
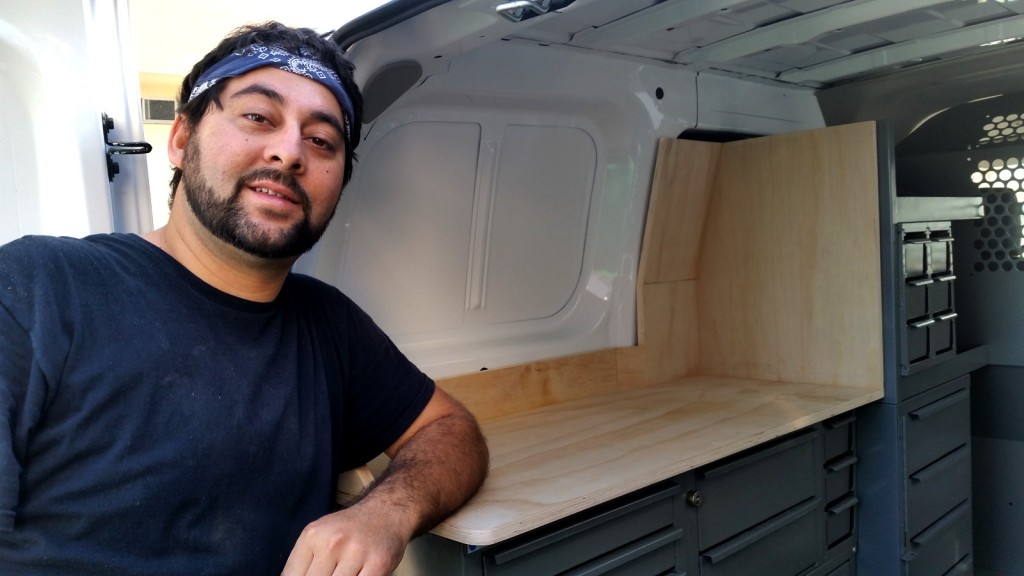
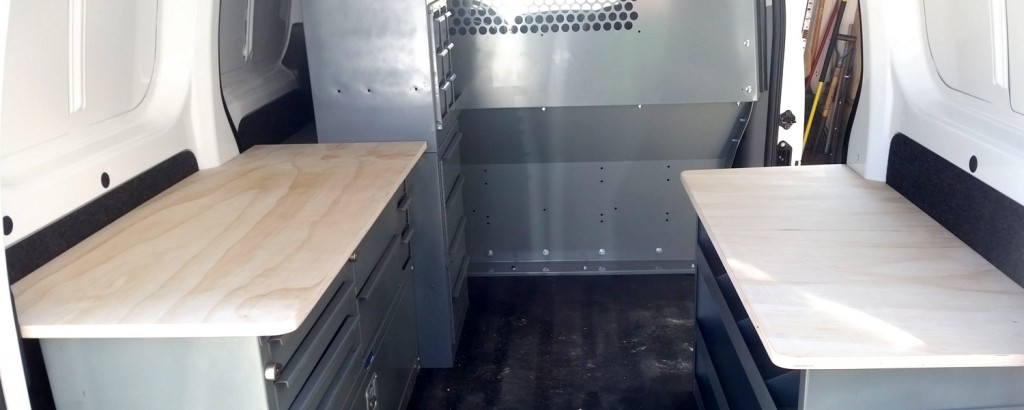 Nice and level. Next came the backsplashes so small lock parts and springs going flying could be reasonably retrieved. We also didn’t want a bunch of key dust falling behind the toolboxes where the vacuum couldn’t go.
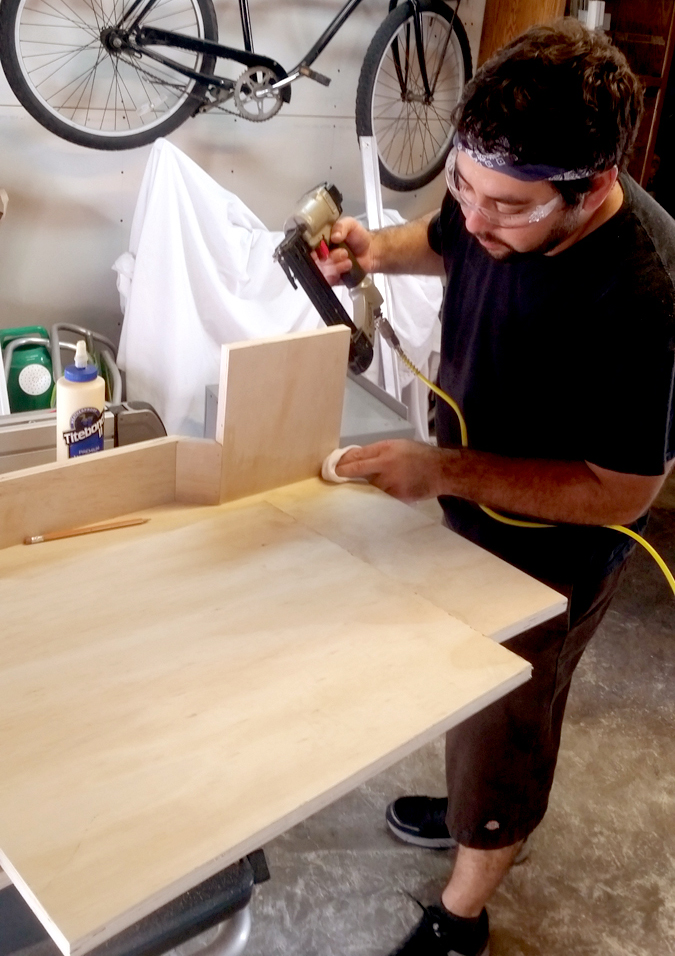
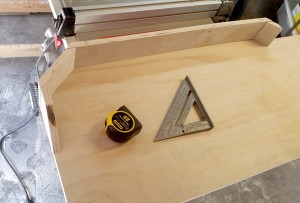 Then came the measuring, the angles, the remeasuring, the cutting, the remeasuring. The saw had a laser light. That was pretty helpful. After all the little pieces of the backsplash were cut, we glued them and hit them with the brad gun. Here is Weson wiping excess glue from the seams. Nice job.
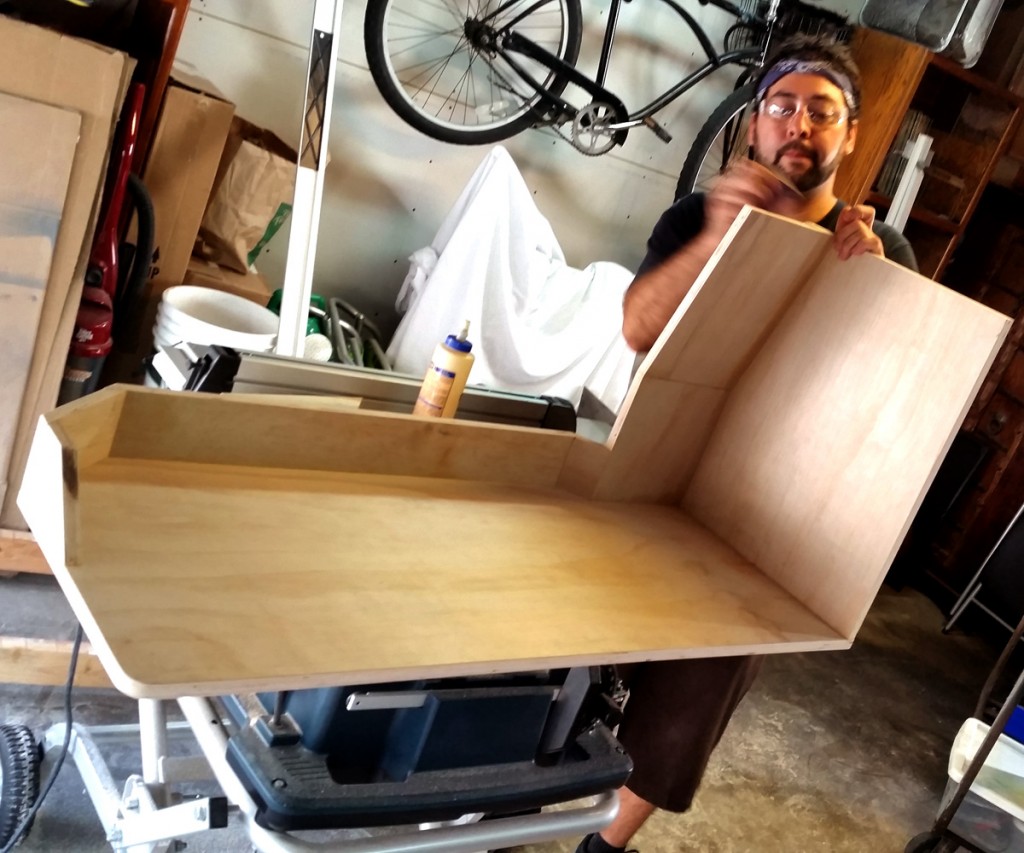 Both sides turned out nice. The vise needed to be installed on this side.
 Now it was time to run the electrical for the machines, the lights, the fan and install the charging system. Stay tuned for the next installment of the 2015 Spring Locksmith Build.